 Image 1 of 2
 Image 2 of 2
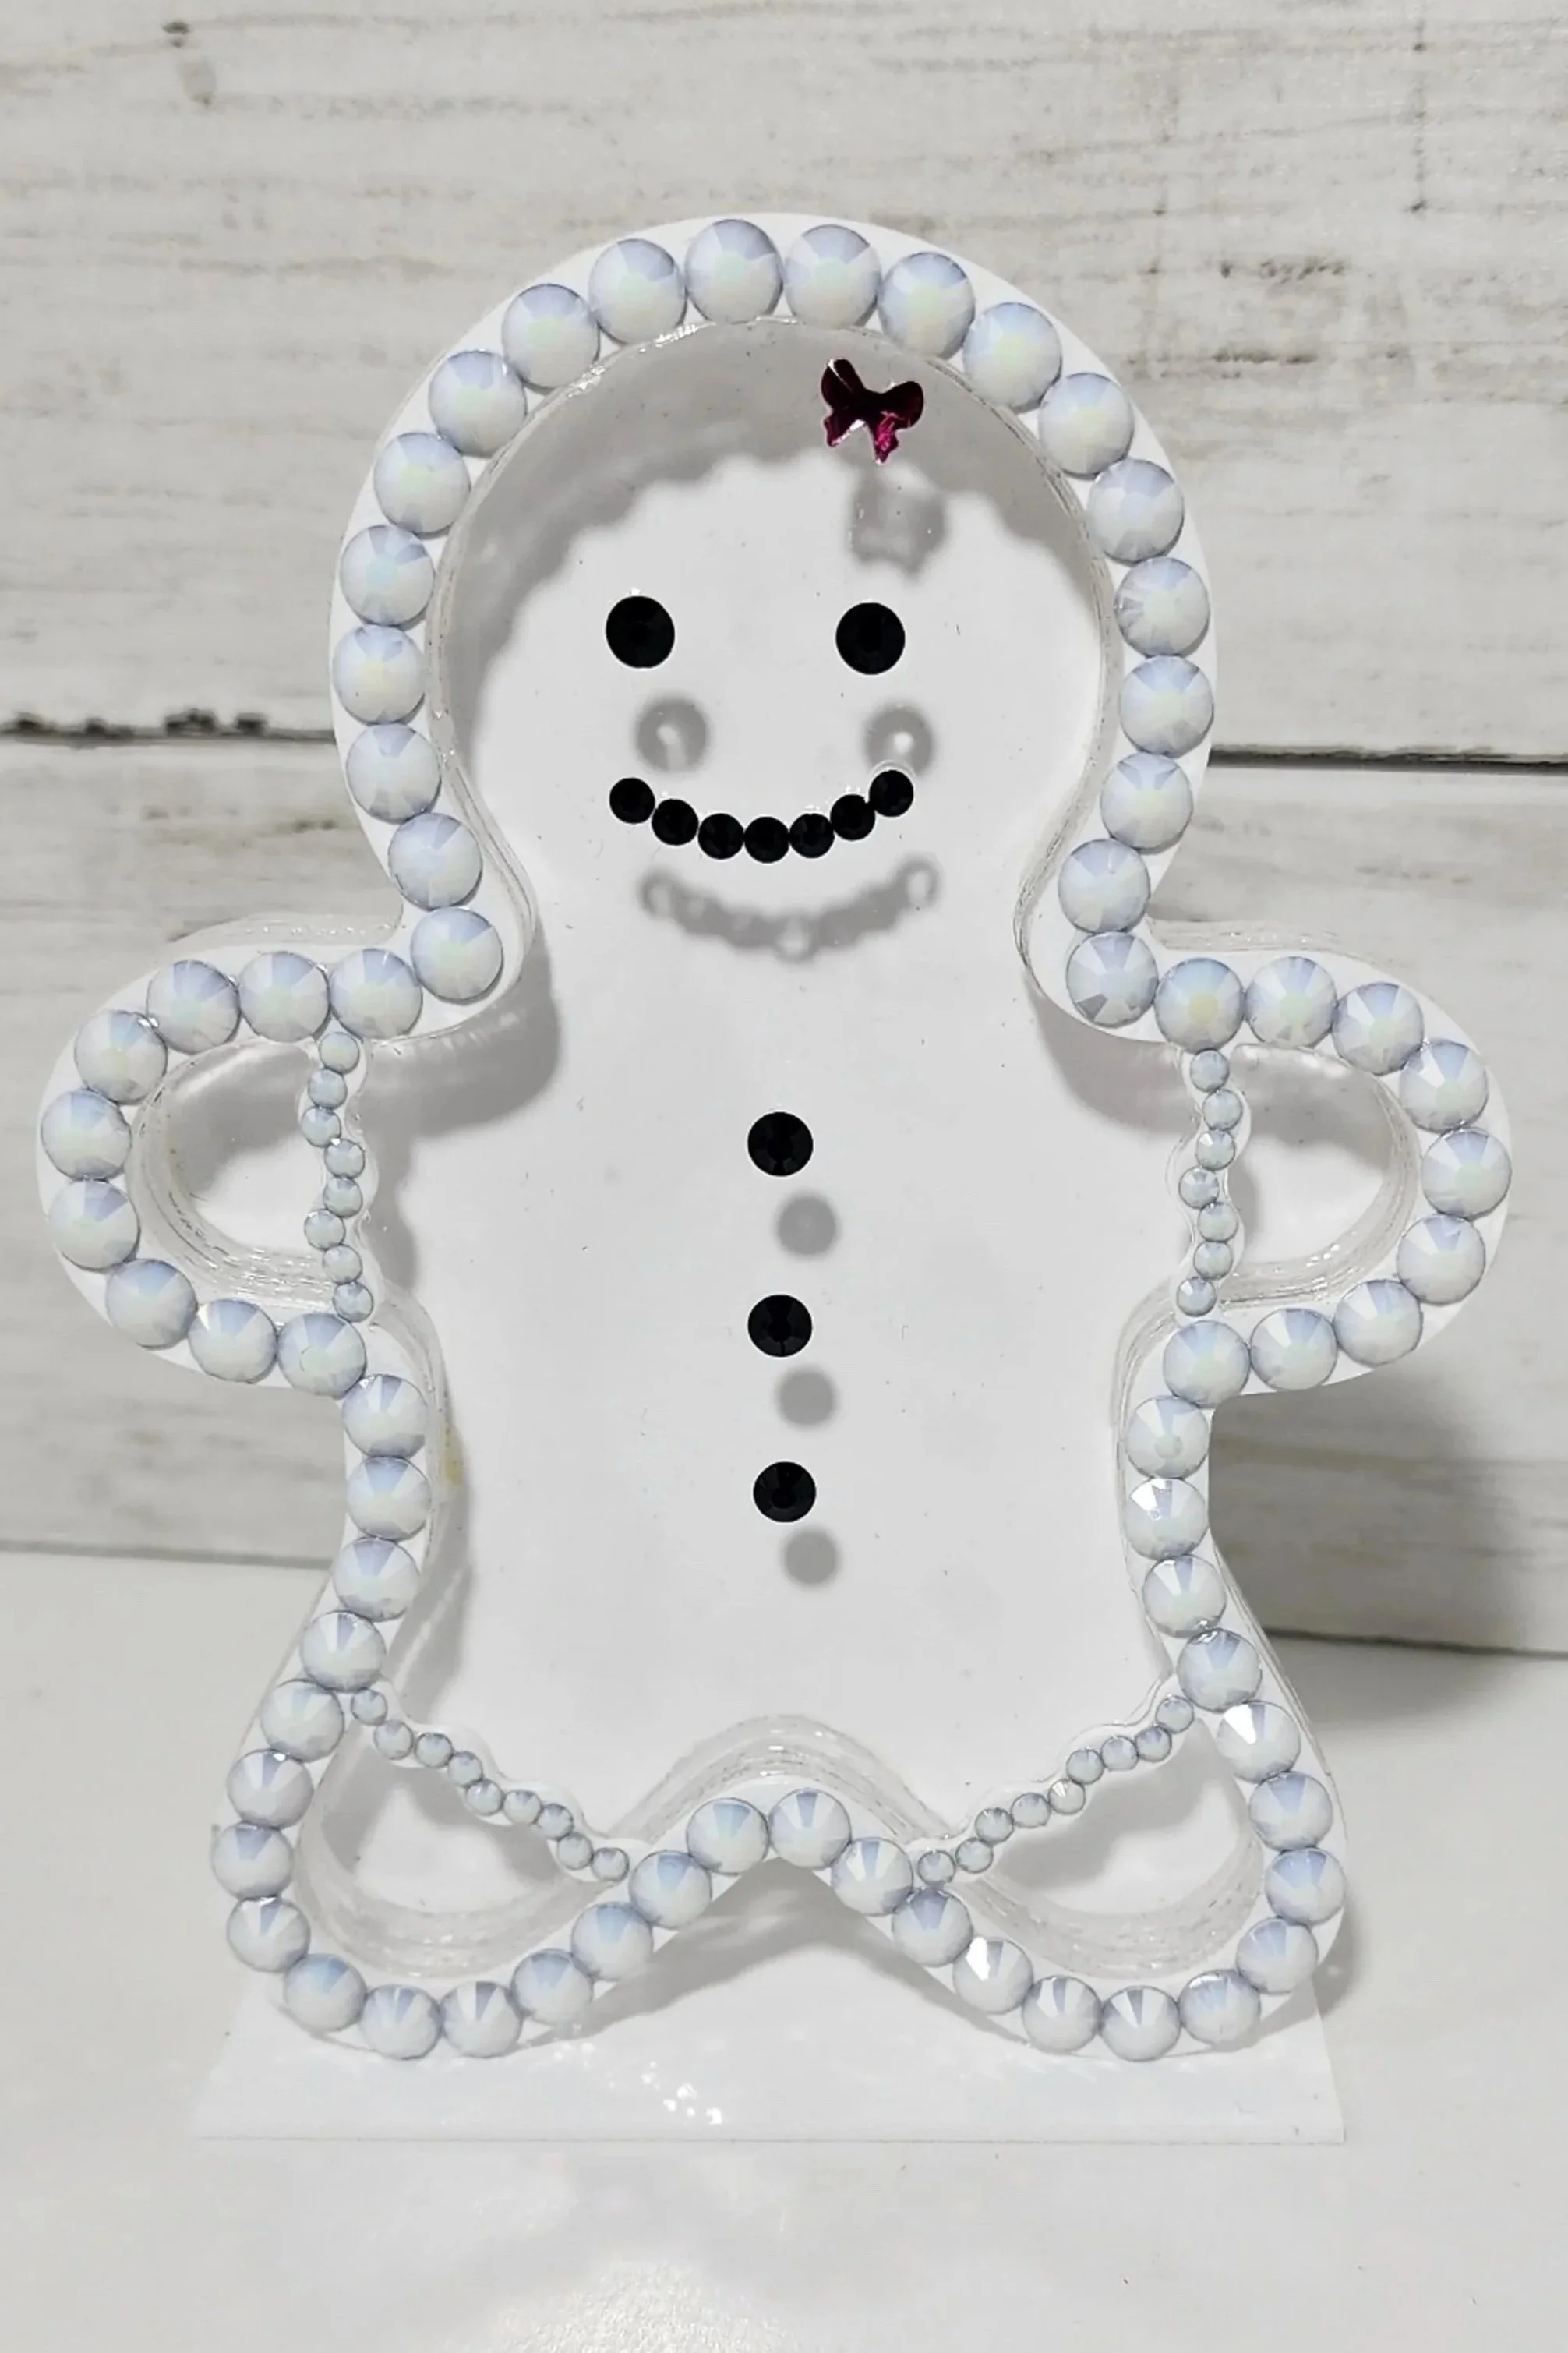
Acrylic Gingerbread 6” Fillable Cutout
This 6-inch acrylic gingerbread cutout is perfect for filling and decorating. Acrylic pieces come separated and will require assembly. Pieces can be painted and customized to your liking. There is an option to add three extra center pieces to create additional depth inside.
Includes:
Backing piece
3 clear center pieces
Clear front cover
Top decorative piece
Style Options:
Piggy bank style (with coin slot)
Fully closed fillable style
Customization Options:
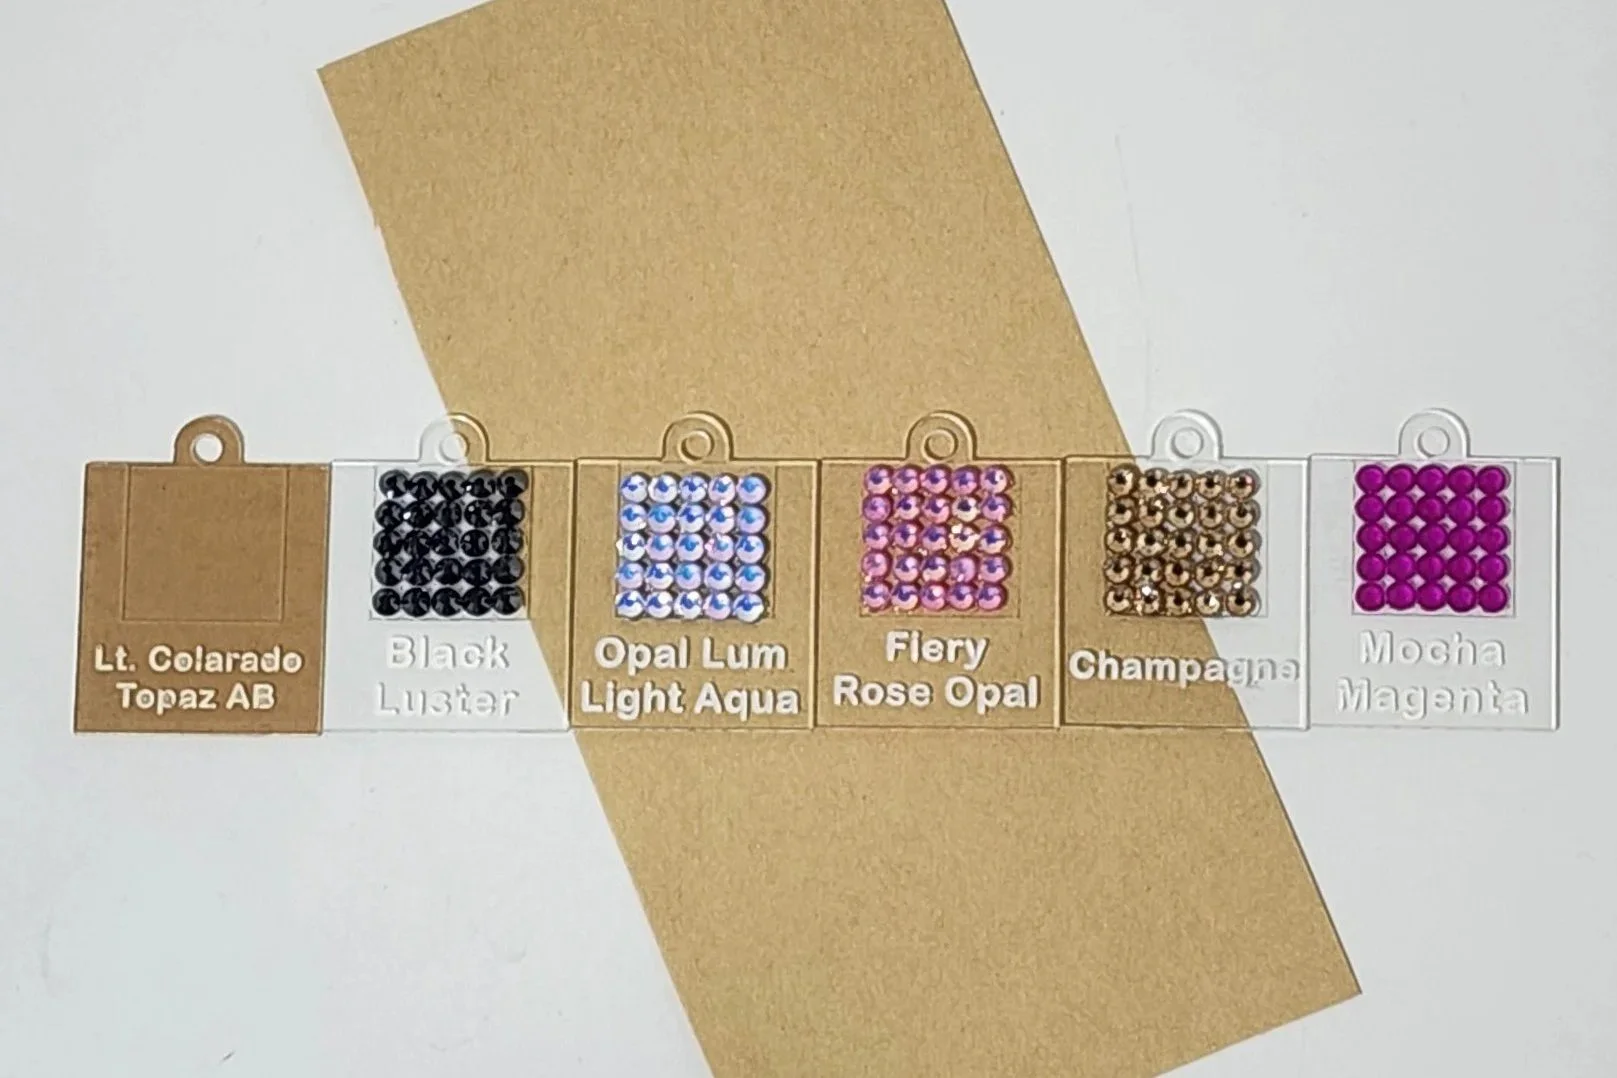
Choose your backing color
Choose your top decorative color
Center pieces are clear
Assembly Instructions
Recommended adhesive: Liquid Fusion glue
Fully Closed Fillable Style
Glue the center pieces and top decorative piece together, leaving the backing off.
Fill and decorate as desired.
Once finished, glue the backing piece on.
Allow glue to fully dry before handling.
Piggy Bank Style
Glue the piece with the coin slot to the backing, using the inner center piece to hold it in place while drying.
Once dry, remove the inner piece.
Assemble the remaining pieces.
Ensure all glue is completely dry before placing anything inside.
Acrylic Gingerbread 6” Fillable Cutout
This 6-inch acrylic gingerbread cutout is perfect for filling and decorating. Acrylic pieces come separated and will require assembly. Pieces can be painted and customized to your liking. There is an option to add three extra center pieces to create additional depth inside.
Includes:
Backing piece
3 clear center pieces
Clear front cover
Top decorative piece
Style Options:
Piggy bank style (with coin slot)
Fully closed fillable style
Customization Options:
Choose your backing color
Choose your top decorative color
Center pieces are clear
Assembly Instructions
Recommended adhesive: Liquid Fusion glue
Fully Closed Fillable Style
Glue the center pieces and top decorative piece together, leaving the backing off.
Fill and decorate as desired.
Once finished, glue the backing piece on.
Allow glue to fully dry before handling.
Piggy Bank Style
Glue the piece with the coin slot to the backing, using the inner center piece to hold it in place while drying.
Once dry, remove the inner piece.
Assemble the remaining pieces.
Ensure all glue is completely dry before placing anything inside.